
So for those of you that don’t know, the main army that I collect is Black Templars. I have barely made any progress painting them and I don’t even want to think about how many more I have left.
I’ve decided to work on a quicker process for painting my Black Templars that still produces a pretty good result. Below are the steps I am currently taking:
- Prime the model black.
- Zenithal highlight with white, i.e. spray the miniature from above. You can do this with either a rattle can spray or with an airbrush. If you don’t have either of these, you can drybrush with downward strokes to achieve a similar results.
- Apply Black Templar contrast paint to the miniature. You can do this with an airbrush or with a brush. Recently I have been applying contrast paints with an airbrush, however, for Black Templar contrast paint I may switch to a brush as I think this will give a darker result.
- Drybrush Dark Reaper over the Black Templar contrast paint.
- Lightly drybrush Fenrisian Grey over the Black Templar contrast paint.
- You may notice at this stage that the armour may look a little chalky after the drybrushing. To smooth this out, I then stipple on various mixes of Dark Reaper and Fenrisian Grey. I also lightly glaze where appropriate and glaze edge highlight.
You can see the result of this below.
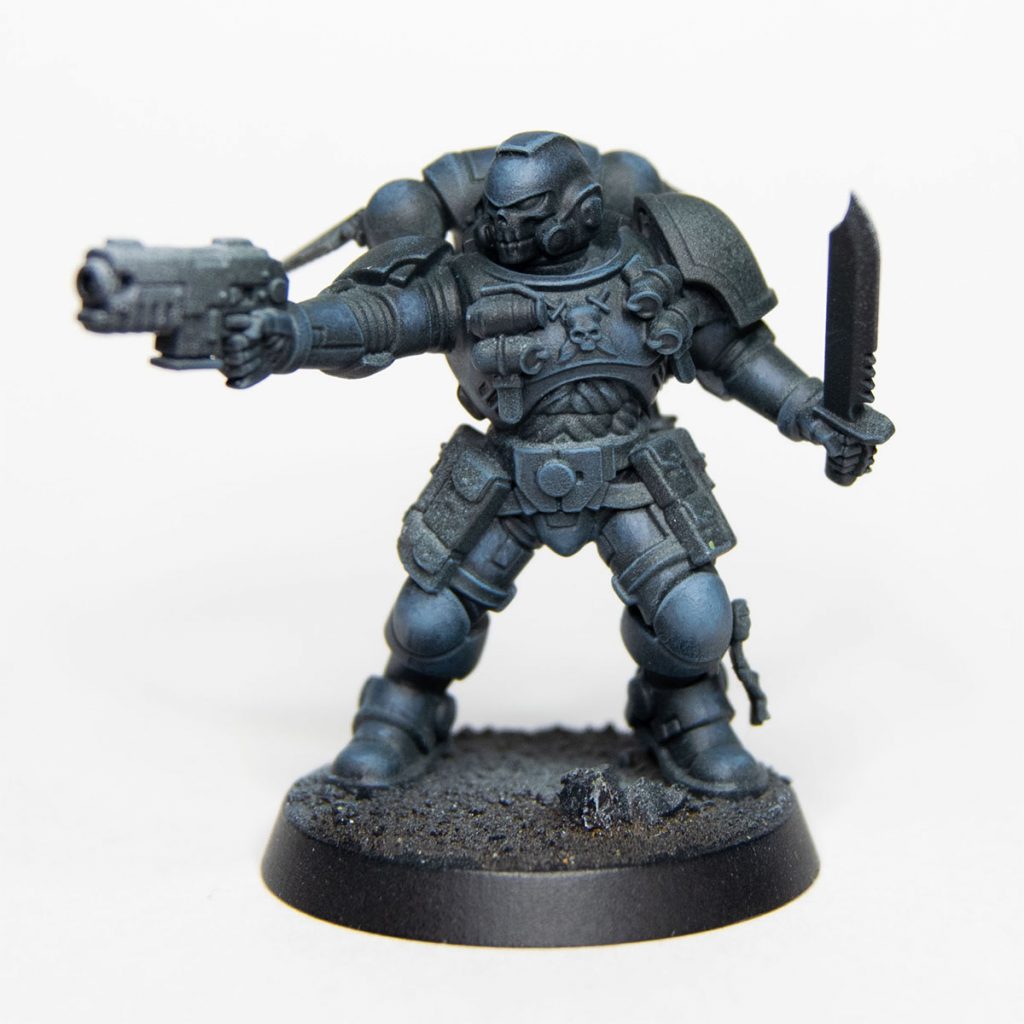
I’m pretty happy with the result. It might be a little too blue, so I may need to cover less of the armour with Dark Reaper and Fenrisian Grey.
I also don’t think the zenithal highlight is doing much, so with the next Black Templar I will skip this step and see if I notice a difference.
Feel free to let me know what you think in the comments.